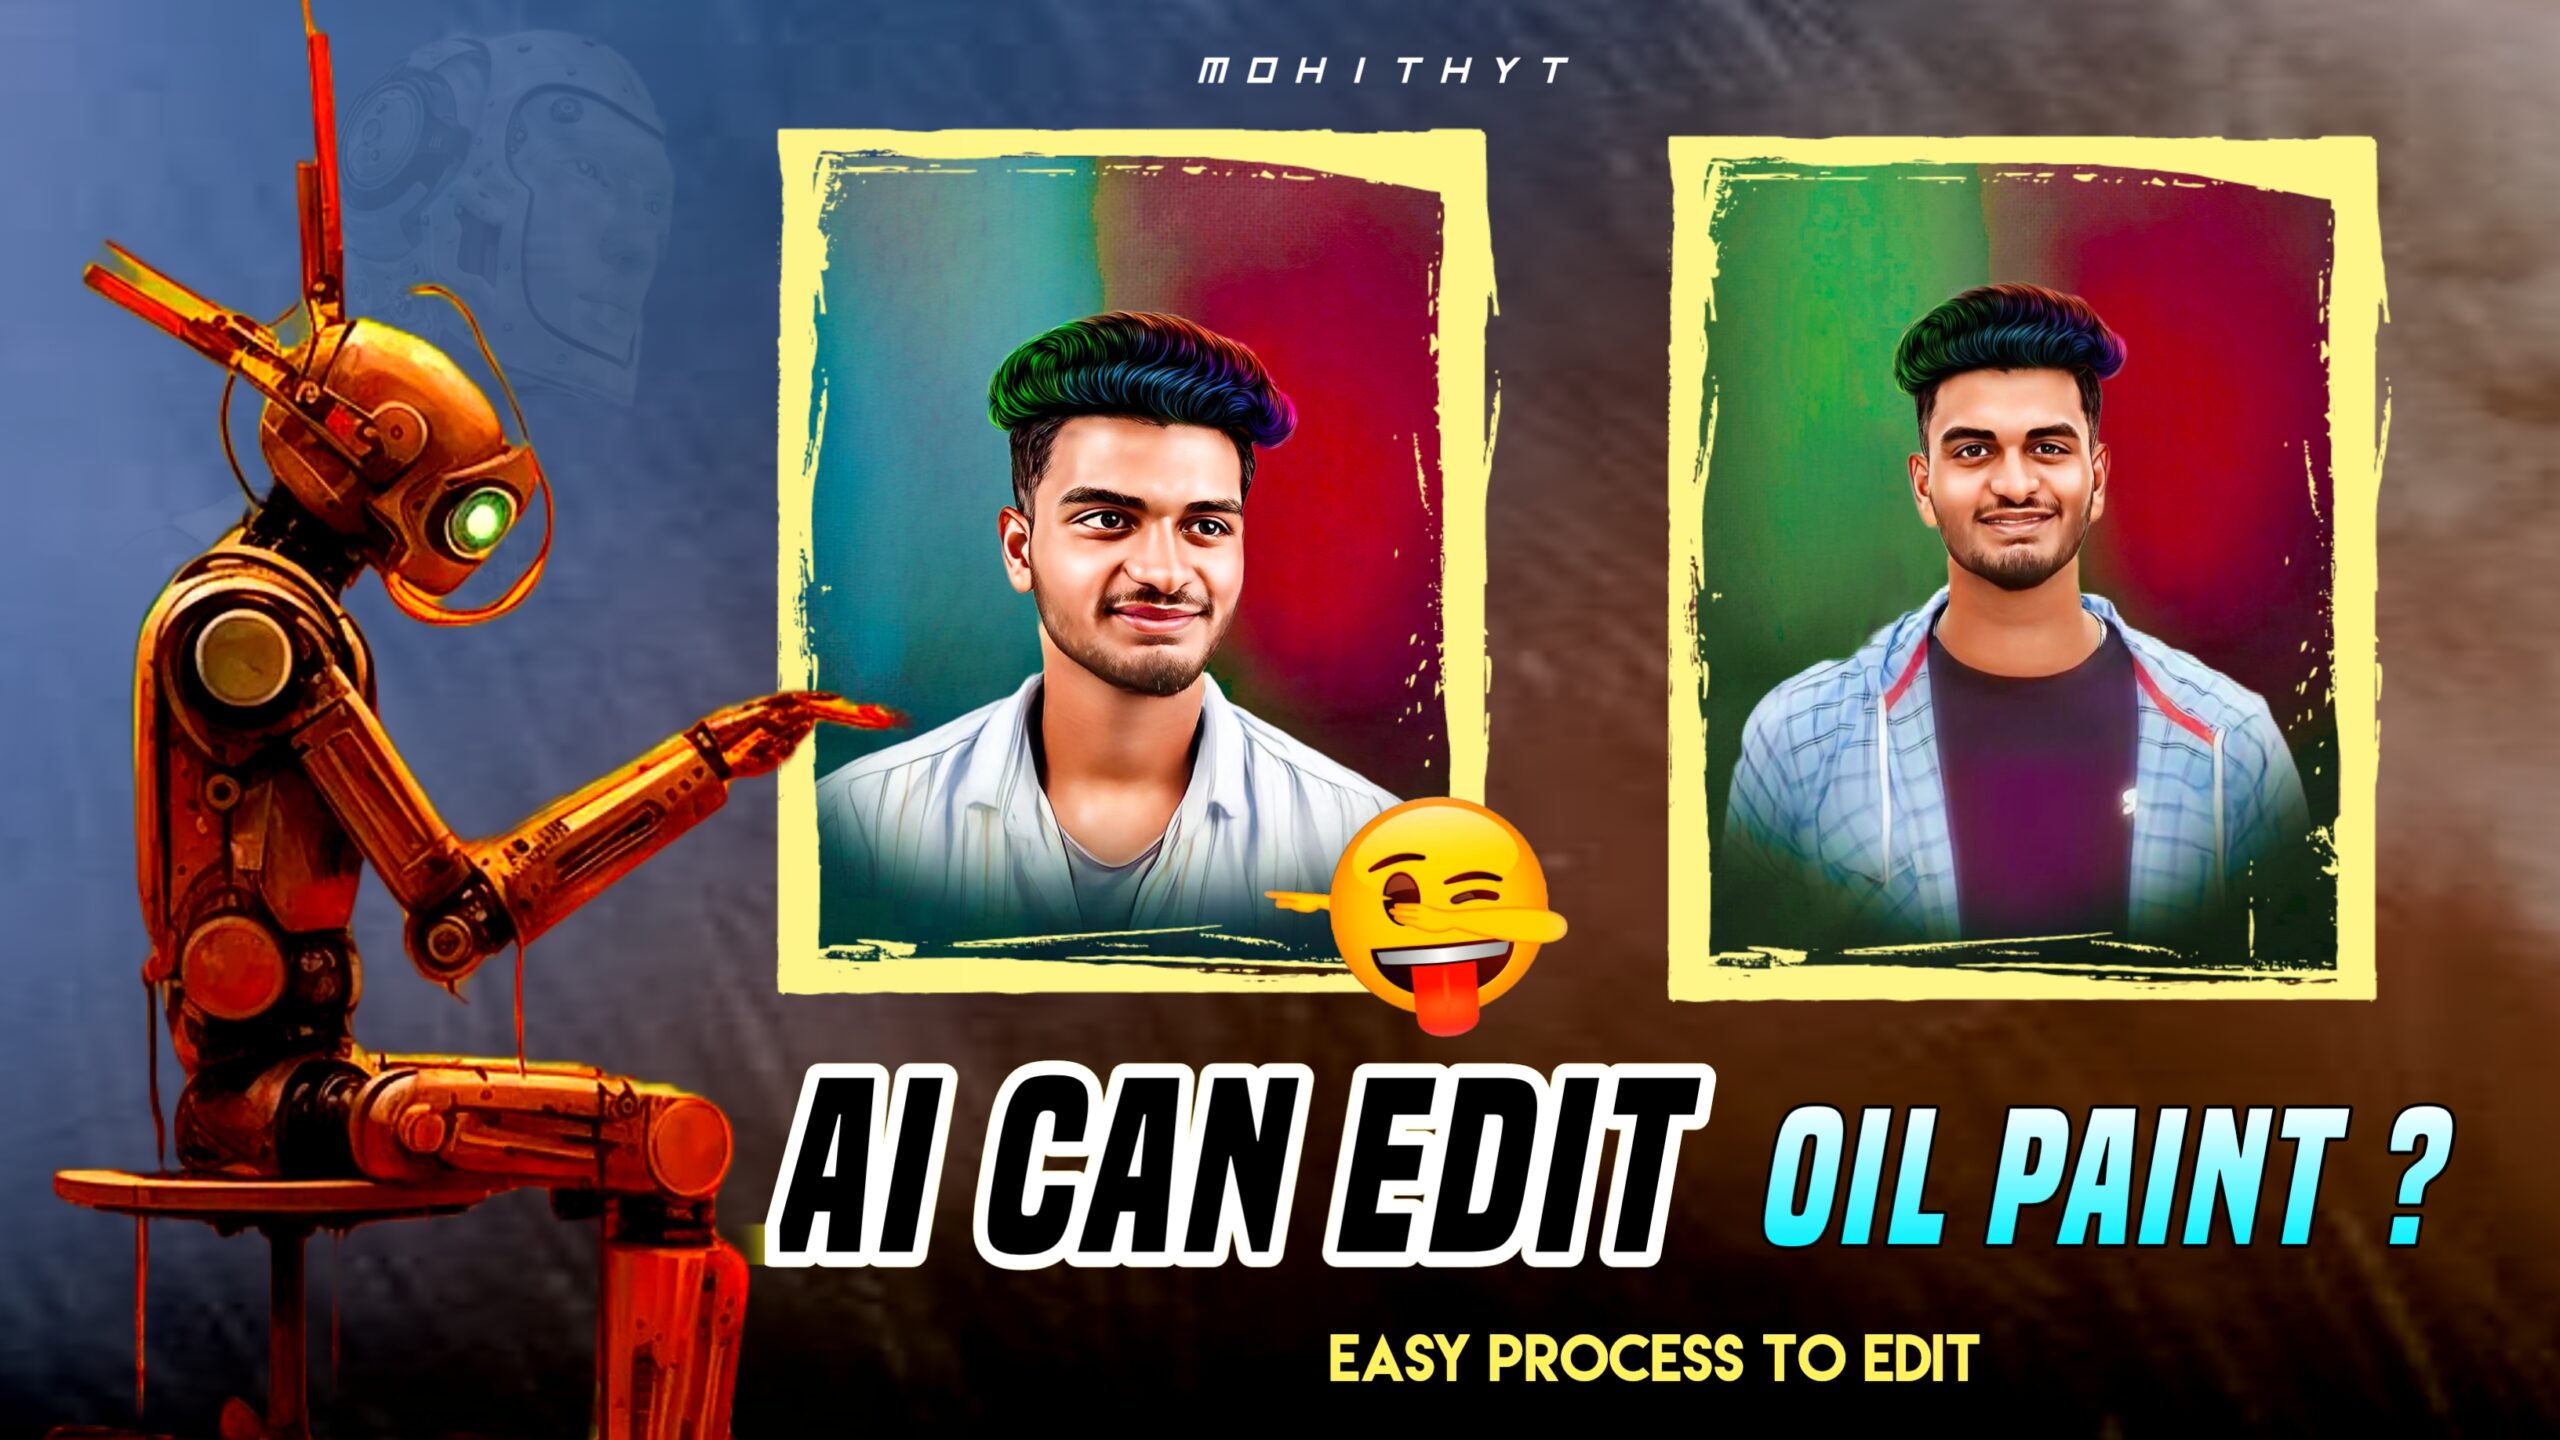
Ai Edited Digital Oil Painting – Oil Painting Photo Editing
oil painting digital oil painting effect art tutorials Digital art mobile painting oil effect art oil painting photo editing new editing guys don’t miss to watch tutorial editing video link is down
Table of Contents
Oil Painting :
First, we need to download backgrounds and all materials link in down no open snapseed application input image which photo you want to edit now click tools selective open increase lighting by pointing all places how I show in the video

Now tap on the healing option to remove pimples are there any dark spots in your photo now select portrait 0 face spotlight and save the image to your gallery

After installing the Remini app and opening the input image from your gallery to increase the quality of the photo it will take some time after saving it to your mobile
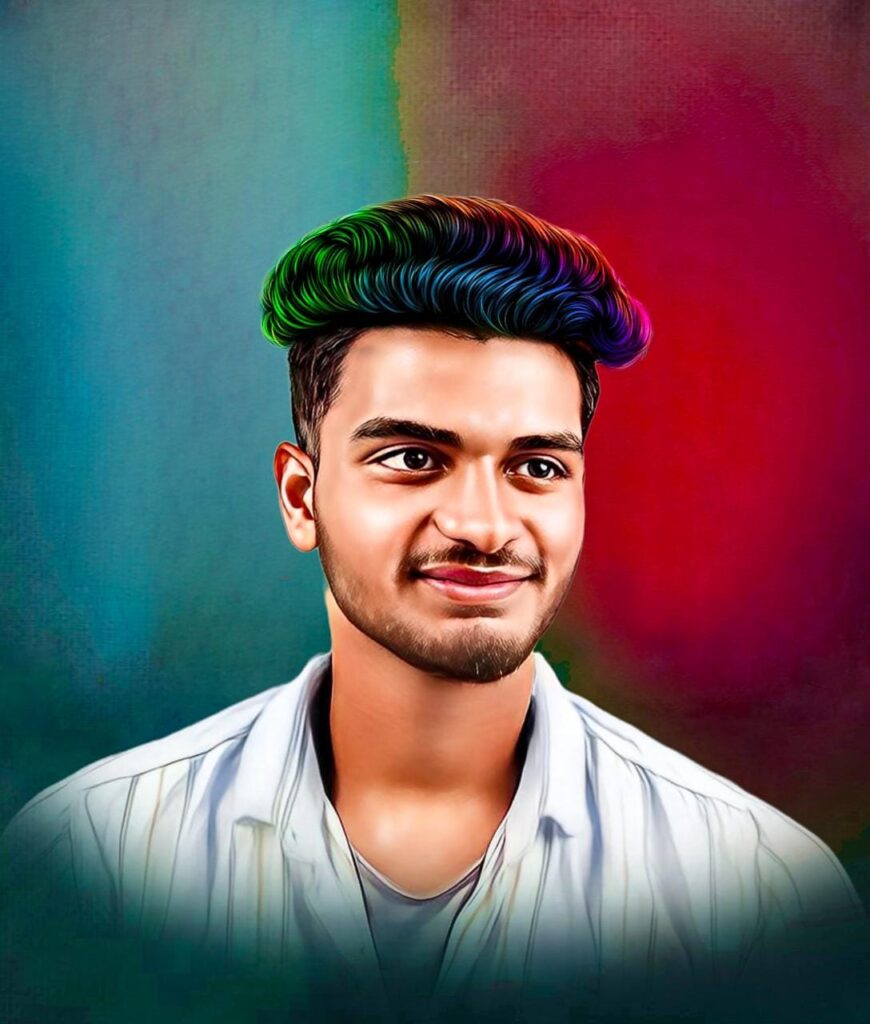
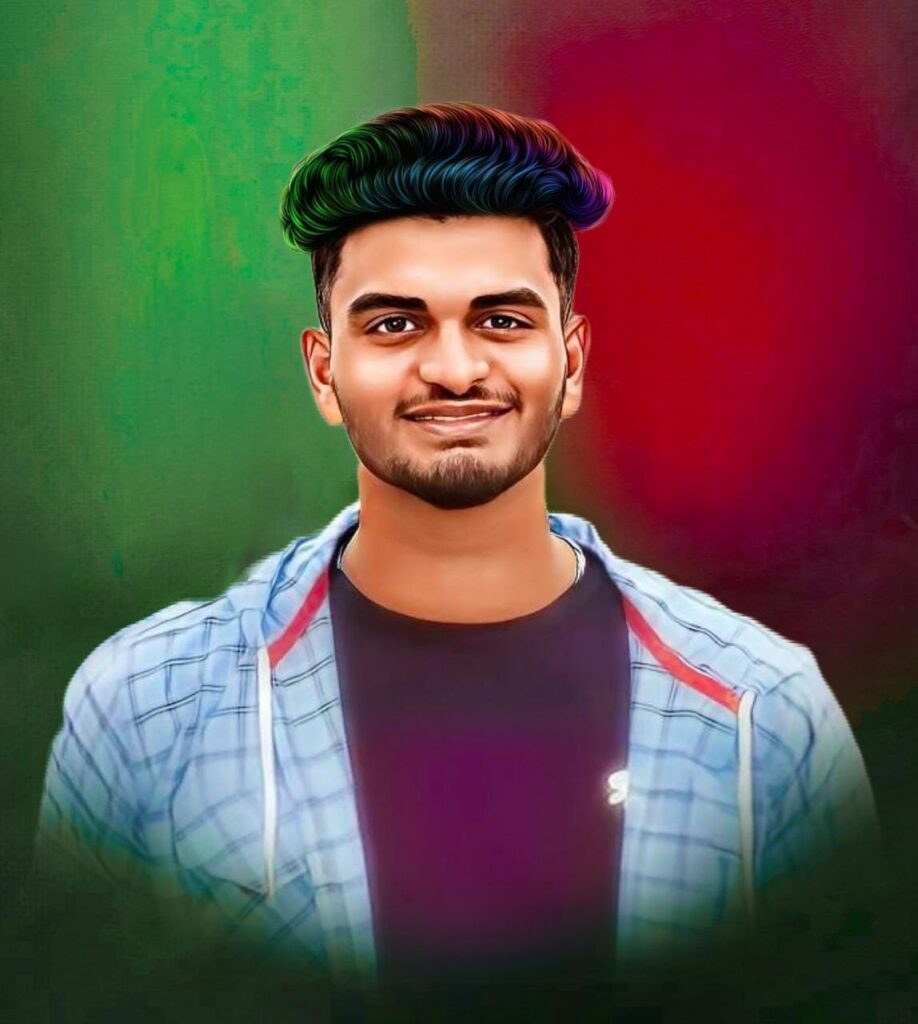
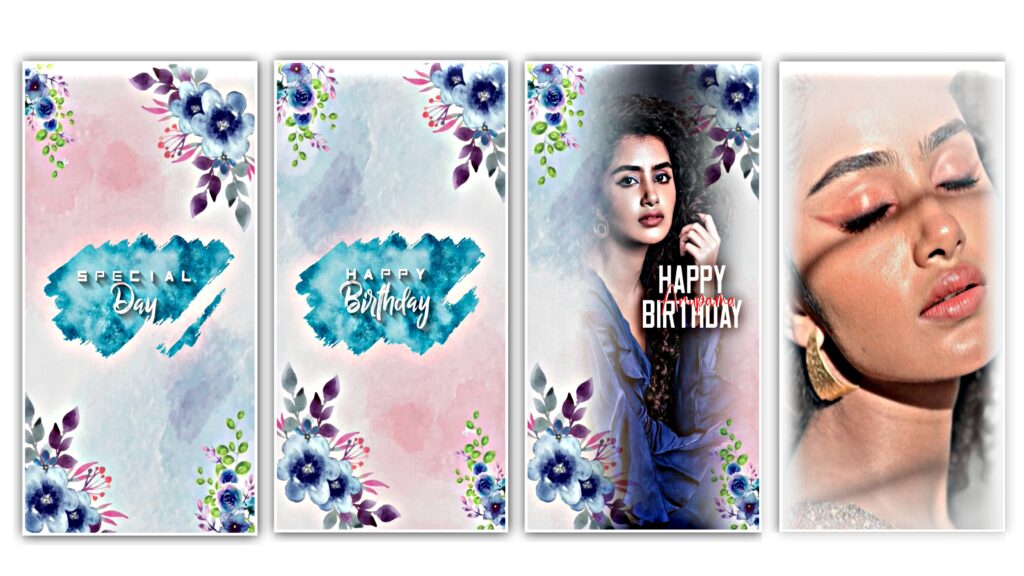
Photo Lab App :
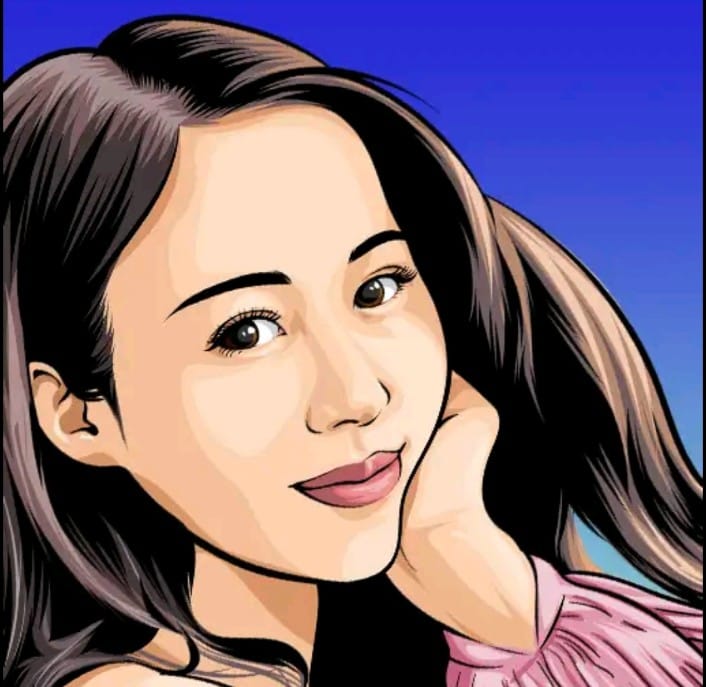
First, install the application from the Play Store you can download the pro version also because the pro version doesn’t have any watermark so try to install that. As explained in the video very easy to download just search on Google You can get the app
Now open the app in the trending section we can see a lot of effects with photos Click the search button and enter oil painting Then we can see with hashtag select the recent option Scroll down to see one boy image select that and input your image from the gallery
And wait for some time it will change our normal image to an oil paint look but it’s not complete we have a lot of editing so don’t skip after downloading the photo to your gallery
How to do digital oil painting :

Go to Adobe upload that photo submit then automatically background Before downloading the material I’ll give you a background image for oil painting input to Picart
Now click & add a PNG photo It adjusts to the screen Tap the erase button to decrease hardness to one Select the size ruf the downside photo properly after adding the hair image set it to the top of the head erase the extra part and set it perfectly
Complete ruf Impressive to corners of hair now save the image to your gallery and open the image tab on the share button select Lightroom input
After opening the Lightroom app we need to tap on the crop button and adjust properly click on auto two colors apply to photo 10 tap on light bring highlights to zero
Color vibrance increases to 26 saturation 8 in the top we can see a mix of all colors open And change red hue to -12 Saturation 20 luminance -23 next orange hue 1 saturation -4 luminance 8 Reminding colors you can change your Your wish like how I show in the video very simple lightly colors dark
Now click the effect option Increase clarity to 14 dehaze incress to 11 after details sharping 66 masking 69 tap the starting mask option and plus brush decrease size to around 6 to 8 middle you can select six also
Draw sketch click the effects option then open the color option to increase saturation around 98 to 100 in the down color Just drag to the red side now decrease saturation to -24
Again tap the plus button and select the radial gradient to create Simply drag that to here now click effects to increase clarity 19 Click right and save the image to our gallery Finally the oil painting is ready
But guys If we don’t want to input color hey then before editing when we are adding the hair don’t take that image to the sketchbook simply select the hair brush and Change numbers on the edit hair with your hand and brush
FAQ ;
How can I edit a picture like an oil painting?
How can I edit a picture like a painting?
How to do oil paint in PicsArt?
How to do digital oil painting?
This is the complete process of oil painting photo editing tutorial I hope you guys like this please support me in doing more videos and articles Thank you.
